No products in the cart.
How Madjack Racing helped bring our original Burros media bike back from 400 hours of hard enduro abuse—and why rebuilding a proven bike can make more sense than replacing it….
A little over a year ago, this motorcycle was brand new.
We started with a 2025 KTM 300 XC-W Champion Edition and worked with Jack Moore of Madjack Racing to turn it into a purpose-built Hard Enduro Burros media bike. The goal was never to create a garage queen. We needed a motorcycle capable of carrying me, a heavy camera pack and enough equipment to follow professional riders into the same brutal terrain you see in our videos.
Nearly 400 engine hours later, the bike had fulfilled that assignment—and then some. It had chased the pros through rock gardens, slabs, hill climbs, creek beds and technical zones across the country. It had been overheated, dropped, dragged, bounced off obstacles and ridden with a 35- to 40-pound camera bag through terrain where simply reaching the filming location can require a full-throttle hill climb.
The bike had not been babied. It had been used exactly as intended.


By the time the Moab Hard Enduro was approaching, however, it was obvious that the motorcycle needed more than an oil change and another set of tires. The starter sounded terrible. The chassis was tired. The wiring had intermittent problems. The bike was leaking around the countershaft, the bodywork was destroyed and enough small issues were beginning to stack up that I no longer trusted a basic service to get us through another race. The reasonable solution might have been to buy another new bike. Instead, we decided to find out what 48 hours, a complete frame-out overhaul and an unreasonable amount of teamwork could do for a 400-hour machine.
Bringing Madjack Racing to the Burros Compound
The first time Jack built this bike, the work happened at Madjack Racing in Southern California. This time, I convinced him to bring the operation to Colorado after JP offered up his garage as the “Burros Compound”.
What started as a convenient workspace quickly turned into a race shop, film set, parts warehouse and complete disaster zone. With the bike, tools and camera gear spread everywhere, JP summed it up perfectly:
“Sh*t is all over the place.”
He may have been a little stressed by the chaos, but he was also a huge help giving us the space, helping reinstall the engine, working on the Airbox Toolkit and helping sort out the wiring-harness issues. It was not Madjack’s normal shop setup, but we made it work.

We knew the bike needed a top end. We had fresh protection parts, wheels, tires, plastics, a new seat, graphics and several known wear items ready to install. We planned to clean the motorcycle thoroughly, address the obvious problems and prepare it for the Moab Hard Enduro.
Then Jack started taking it apart.
The more he looked, the more he found.
Within the first stage of disassembly, it became clear that this was not going to be a quick cosmetic refresh. Jack wanted the engine out, the frame bare and every major component cleaned and inspected. At his shop in L.A. he considers this level of work a Stage Four Prep: the dirtbike is taken completely down to the frame so the brakes, controls, bearings, wiring harness, engine components, hardware and wear points can all be inspected individually.
I had not necessarily planned to frame the bike out when we started, but hey I’m not going to complain when Jack starts jammin’ on the bike at lightning speed. Jack had apparently planned to frame it out before he even arrived, but hadn’t filled me in on HIS plan haha.
That is part of what I appreciate about working with him. Jack does not want to reinstall parts over an unknown problem simply because the clock is ticking. He wants to know that everything he can reasonably inspect has been touched, cleaned, serviced and handled correctly.
There is a reason race teams tear motorcycles down this far. It is not because every component needs to be replaced. It is because a full teardown gives an experienced mechanic the opportunity to catch the small failure before it becomes a DNF. On a 400-hour hard enduro bike, there were plenty of those small failures waiting to be found after the abuse we put our bikes through.
What 400 Hours of Hard Enduro Was Hiding
Once the plastics, tank, exhaust, radiators, wiring, suspension, wheels and engine began coming off, the actual condition of the motorcycle became much easier to understand.
Some parts looked surprisingly good. Others were much closer to failure than I realized.


A Cracked Subframe
One of the biggest discoveries was a cracked subframe. I had not caught it while riding or servicing the bike, and it could easily have remained hidden during a lighter refresh. With the motorcycle stripped down, Jack spotted it and we replaced it before the crack could grow into a larger structural problem. That single discovery helped justify the entire frame-out process.
Uneven Brake Wear and Sticking Caliper Hardware
Jack also noticed that the brake pads were wearing unevenly. That pointed towards sticking or potentially bent caliper pins. It had felt like the brake was fading intermittently so this explains the unpredictable braking. Those are the kinds of issues a rider can gradually adapt to without realizing how much braking performance has changed. The caliper needed to come apart so the hardware could be cleaned, inspected and replaced. Cody at CM Parts helped us source a take off brake pin since KTM only sells the pin as an entire caliper assembly at a hefty price tag.
A Missing Master-Link Clip
We also discovered that the master-link clip was missing from the chain. That chain had only recently been installed (by me two days prior due to crazy chain wear), and somehow the clip was already gone. The bike had been ridden that way, which is not exactly the type of confidence-inspiring discovery you want two days before a race. It was a small part with the potential to create a very large problem.
Evidence of Serious Heat
The cylinder head showed signs that it had been sweating around the head. That was not completely surprising. I had pushed the bike hard at the Grindingstone race in 95-degree heat, and there had been several occasions when the engine temperature climbed north of 250 degrees. The top-end overhaul gave Jack the opportunity to inspect the head, sealing surfaces, reeds, and cylinder instead of simply assuming everything was fine.
A Leaking Countershaft Seal
The area around the countershaft was wet and packed with oil-soaked dirt. Once Jack inspected it, the evidence suggested that the seal had been installed too deeply during a previous repair. That previous installer may or may not have been me. Jack was charitable enough to leave open the possibility of another cause, but I am reasonably confident I had simply sent it a little too hard during installation.


A Destroyed Flywheel and Sticking Bendix
The starter system had become one of the most obvious problems going into the build. The starter would grind, struggle to engage and often become easier to start only after it had warmed up. JP had heard it on enough rides to confirm that it did not sound healthy. When Jack removed the ignition cover, we found flywheel teeth that were badly chewed and tapered. The Bendix had not been retracting correctly, allowing it to remain in contact and progressively damage the flywheel. By the end, it appeared that the starter may have been engaging only a few remaining teeth. We installed a new flywheel and a new Bendix rather than gambling on the worn system surviving Moab.
Broken Wiring Hidden Inside the Harness
The wiring harness became its own project. During the cleaning and reassembly process, Jack found damaged wiring around the headlight circuit. Pulling the covering back exposed additional breaks, including wires related to an oil indicator light that had not worked correctly for a long time. My headlight had also been intermittent, but because I often run a lightweight motocross-style front number plate instead of the full headlight assembly, I had not understood how much damage was hiding in the harness. Jack and JP worked through the wiring, traced the damaged sections, repaired the circuits and wrapped everything back up securely. What began with one visible break led to several more—and finally explained multiple electrical symptoms I had been dealing with. This is exactly why Jack’s attention to detail matters. He did not stop after repairing the first wire. He kept tracing the problem until the related failures made sense.
Cleaning Is a Major Part of a Real Overhaul
The less glamorous part of this build was the cleaning. A hard enduro bike can look reasonably clean from five feet away while still holding an unbelievable amount of dirt, oil and debris inside the chassis. I had already power-washed the bike before Jack arrived and thought I had done a respectable job.
Jack disagreed.
He was correct.

Once the bike got further stripped. We cleaned the frame, engine, swingarm, harness, individual connectors and all the smaller components that cannot be properly reached when the bike is assembled. There was plenty of Simple Green, WD-40, Scotch-Brite and elbow grease involved. We worked through the night cleaning every nook and cranny so Jack could inspect clean parts instead of guessing through layers of grime.
It was not glamorous, but there are no shortcuts if the goal is to understand the actual condition of your bike and expect it to deliver another 400 hours of hard riding.
The Engine Overhaul
The engine work centered around refreshing the areas that needed attention without replacing components simply to say we had replaced them.
Jack performed a complete top-end overhaul with a fresh piston, gaskets and detailed inspection of the cylinder, head, reeds and power-valve system. Most people forget to inspect their reeds during a top end, but it’s a good time to do it since a lot of the time people will think their bike is down on power due to a lack of compression – AKA – time for a top end, when in fact it’s actually just a chip or crack in the reeds. The rider will experience the same feeling in the bike either way.
After inspection, we elected to leave the bottom end together. My experience with these KTM engines has been very positive, and there was no immediate evidence that justified splitting a functioning bottom end simply because the hour meter showed approximately 400 hours. If it had closer to 1000 hours we would have split it.
An overhaul does not have to mean blindly replacing every component. It means taking the bike far enough apart for an experienced mechanic to evaluate what is worn, what is damaged and what remains serviceable.
Madjack Racing is especially valuable here because Jack handles both complete engine builds and full motorcycle frame-outs all day every day at his shop. He is not evaluating the engine in isolation from the rest of the bike. He understands how the frame, controls, electrical system and engine need to work together when the motorcycle is going back into a serious racing or hard enduro environment.


Rebuilding the Chassis for Another 400 Hours
With the engine work underway, the frame received the same level of attention. The steering components, swingarm and bearings were cleaned, inspected and freshly greased. Despite the hours, several bearings looked surprisingly good—a credit to the heavy grease preparation Jack performed when the bike was new. That original preparation had paid off.
Jack recommends taking the time to properly grease a new motorcycle well from the get-go because the work done at zero hours directly affects what the components look like hundreds of hours later. Even after nearly 400 hours, the original blue Maxima grease was still visible in portions of this bike’s chassis. Had we not done that, there’s no way the minuscule amount of factory KTM grease would have made it this far.

The bike also received fresh Bulletproof designs wheels and protection hard parts, IRC JX8 and VX40F tires, a new D.I.D. chain and Dirttricks sprockets, a replacement subframe, repaired brakes, new bodywork and a complete graphics and plastics overhaul courtesy of MX Graphics.
So to be honest most of the original protection components were still functionally usable after 400 hours. That says a lot about the durability of parts from Bulletproof Designs and SXS. We replaced several of those pieces just because this was also a filmed build and we wanted the finished bike to look as fresh as it felt.


Slavens Racing Bailed Us Out—More Than Once
No matter how much you plan for a frame-out build, you do not know everything you need until the dirtbike is apart.
We found additional wear, damage and missing pieces as the project progressed. That would normally be inconvenient. With the Moab Hard Enduro approaching, it had the potential to stop the entire build. Alec and the team at Slavens Racing bailed us out repeatedly.
We placed overnight orders for last-minute components and had parts arriving while the bike was already scattered across JP’s garage. Rachel became our parts courier, picking up pieces I had forgotten while we continued assembling everything we could.
One overnighted Slavens order included the parts that were holding up progress. Another round of last-minute support followed the next day. By the time the bike was completed, Slavens had rescued the project on two separate days multiple times. Jack was shaking his head at my planning skills but also nodding his head with the speed and reliability of the guys at Slavens.


That speed matters when you ride or race frequently. It is one of the reasons we have continued to work with Slavens Racing. They understand the KTM, Husqvarna and GasGas off-road world, they stock parts selected by people who actually ride and they know that sometimes a radiator hose, chain guide, seal or OEM engine part is the only thing standing between you and a fun weekend destroying your bike riding hard enduro with the Burros.
The Deadline Was Getting Real
The first day stretched late into the night. At approximately 10:00 p.m., with the engine going back into the frame, we asked JP to estimate our odds of hitting the deadline. His answer was not encouraging. He put us below a 40% chance of success (although I later realized I think he meant we are at 40% complete on the total job!)
Jack’s response was simple: “I thrive on pressure.”
JP may have been watching the floor of his garage slowly disappear beneath tools and motorcycle parts, but Jack kept moving. He worked with the same focus late at night that he had at the beginning of the teardown. This is where I have to be honest and just admit that I enjoy riding dirtbikes WAYYY more than working on them. Y’all out there know what I mean!


The next morning started later than planned because we had stayed up working, but the deadline had not changed. Rachel was out collecting forgotten parts. FedEx deliveries were still arriving. JP was solving wiring and garage problems. I was cleaning, filming, mounting tires and trying not to slow Jack down too much with the cameras.
We hoped to have the engine running by early afternoon.
As usually happens with these projects, early afternoon became evening, and evening became another late night.
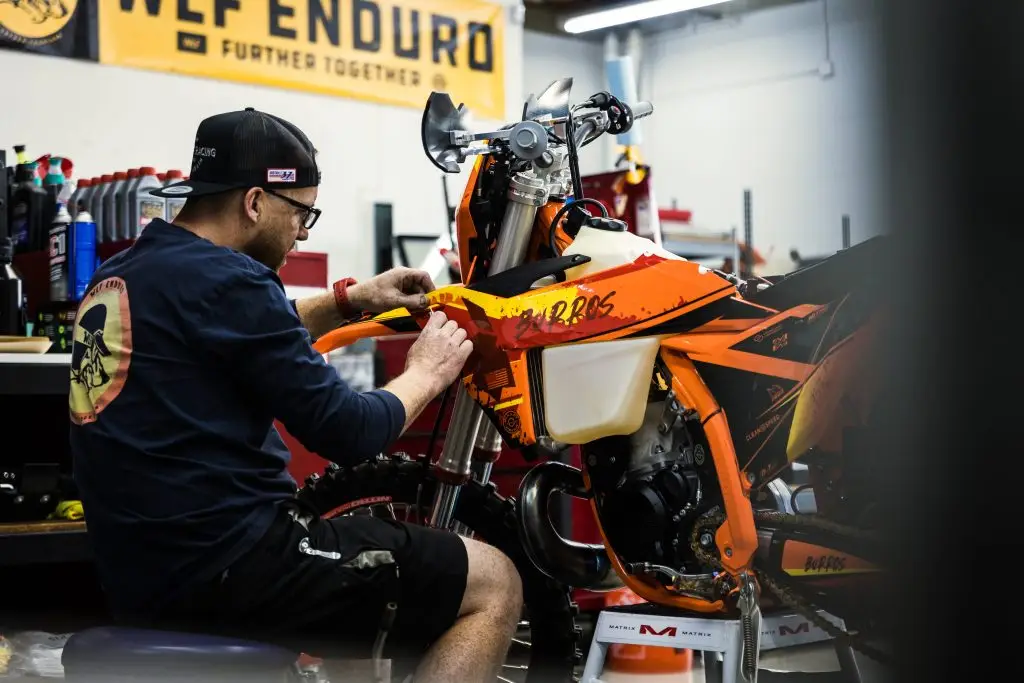
The wiring repairs took longer than expected. The graphics required patience…. just kidding – Jack FLEW through the graphics! He has such confidence to just peal the entire piece off the backing and just go for it! That’s what you get I guess after installing thousands of graphics kits in his decades of owning a shop.
At approximately 1:15 in the morning, we were finally installing the last pieces and putting the custom Seat Concepts seat on. We went to sleep knowing we still needed to wake up, photo the finished bike, complete a walkthrough and perform the first ride.
The Most Burros Product Shoot Possible
Once the bike was complete, we still needed finished photos. That led to one of the more Burros moments of the entire project.
Rather than having a full commercial studio and professional grip waiting at the compound, Rachel and JP ended up holding a piece of scrim fabric to soften the light while I photographed the bike.
After two days of parts, grease, electrical problems and almost no sleep, we had somehow transitioned directly into an improvised product shoot. It was all coming together.
Rachel and JP stood there holding the fabric like a two-person Hollywood lighting department while I tried to make a dirtbike that was about to be abused at the Moab Hard Enduro look perfect for the camera. It was not elegant, but the results worked—and it fit the entire spirit of the project. Just get it done.
The prep for the race was the reason we were there, but the team effort is what actually got it finished and made it a fun process.


Why Overhaul a 400-Hour Bike Instead of Buying a New One?
For riders who put a normal number of hours on a dirtbike each year, buying a new bike annually may not even enter the conversation. When you ride and film as much as we do, it becomes a real question.
At a certain point, the easy answer is to sell the used bike every year and do a bike build annually. There are obvious advantages: fresh components, no accumulated wear and less uncertainty. But there is also real value in rebuilding a bike that is already proven and completely dialed for its purpose. Also, lots of components can be reused.
This 25′ XC-W already had the best Deja Moto suspension setup I liked. The controls and ergonomics had been refined over hundreds of hours. The protection system was proven. The gearing, the nicely broken in frame, and motor have been dialed and I’ve built trust with the bike.
Starting over would mean buying another freshie and repeating a large portion of the original build – albeit fun to start new, but just overkill. (Well maybe this was overkill too!)
A proper overhaul allowed us to preserve the parts of the platform that were still working while replacing or repairing the areas that had accumulated wear. It also gave us the opportunity to learn exactly how well the original preparation and components had survived.
The condition of several bearings proved that the original Madjack frame preparation had been worthwhile. The protection parts that remained functional after hundreds of hours showed where quality components can extend the useful life of a bike. The full teardown also revealed problems that would have followed the bike to a new owner if I had simply cleaned it up and sold it.
A rebuild is not always the cheaper or smarter answer, but it also could be. If you dont have a damaged subframe, freak bendix issues, or go ham on replacing every little thing for aesthetics, then you can make an overhaul more practical.
When the core platform is sound, a professional (or a garage DIY) frame-out inspection and engine overhaul can restore a huge amount of life without abandoning everything already invested in the bike.
For riders considering this route, the quality of the inspection matters as much as the replacement parts. This is where Madjack Racing separates itself from a normal parts-swap operation. Jack knows where these bikes wear, understands which symptoms point to larger problems and has the experience to determine what can be reused safely.


Madjack Racing Made the Bike Feel New Again


By the end of the overual, the bike had been stripped to the frame and inspected in nearly every area. What impressed me most was not simply the number of parts Jack installed.
It was his refusal to rush past the details.
Even with the deadline closing in, he continued checking connectors, inspecting wear patterns, measuring gasket thicknesses, cleaning components and tracing small problems to their actual causes. He worked late into both nights and maintained the same standard even when the rest of us were running out of energy.
The motorcycle looked new when we finished, but more importantly, it felt mechanically understood again.
That is the real value of working with Madjack Racing.
- Backrow Burros Edition 26’ KTM XC-W, XC 300, EXC-F/XCF-W Premium Grunge Graphics Kit$250.00 – $275.00Price range: $250.00 through $275.00
Whether you need a complete KTM engine rebuild, a race-prep service or a full frame-out overhaul like this one, Jack approaches the motorcycle as a complete system. If I am trusting a bike to carry me and my camera equipment deep into technical terrain, that is exactly the type of preparation I want behind it.
Straight From the Garage to the Moab Hard Enduro
We completed the overhaul within the 48 hours we had to work with.
There was no long period of admiring the finished bike. There was barely time to take photos and perform the first heat cycles before putting it back to work. The Moab Hard Enduro was only a day away.
That meant the bike’s first real test after being rebuilt would not be a gentle trail ride. It would be another hard enduro weekend full of rocks, ledges, heat, impacts and all the usual abuse.
It was a little painful knowing that the first crash would erase some of the fresh-bike perfection, but we did not rebuild it to sit on a stand.
We built it to use it.
Jack’s and my goal was to breath life back into a functional, proven hard enduro dirtbike capable of going another 400 hours chasing the pro Burros around to film the hard enduro action you see in our episodes.
The Team and Brands Behind the Overhaul


A huge thank-you goes to Jack at Madjack Racing for making the drive to Colorado, working through two extremely long days and giving this bike the attention it needed.
Thanks to JP for donating his garage, tolerating the explosion of parts and tools, helping with the wiring and supporting the entire project even when his confidence in our deadline dropped below 40 percent.
Thanks to my wife Rachel for chasing down forgotten components, serving as the emergency parts courier and helping improvise the finished-bike photo shoot.
Thanks to Alec and the crew at Slavens Racing for bailing us out with multiple last-minute and overnight parts orders. Hit them up for your next parts order. They deserve the business.
The build also came together with support and components from:
Bulletproof Designs, SXS, Crosslinked Components, IRC Tire,
FMF Racing, Seat Concepts, MX Graphics, Dirt Tricks, DID, NSX, Deja Moto, CM Parts.

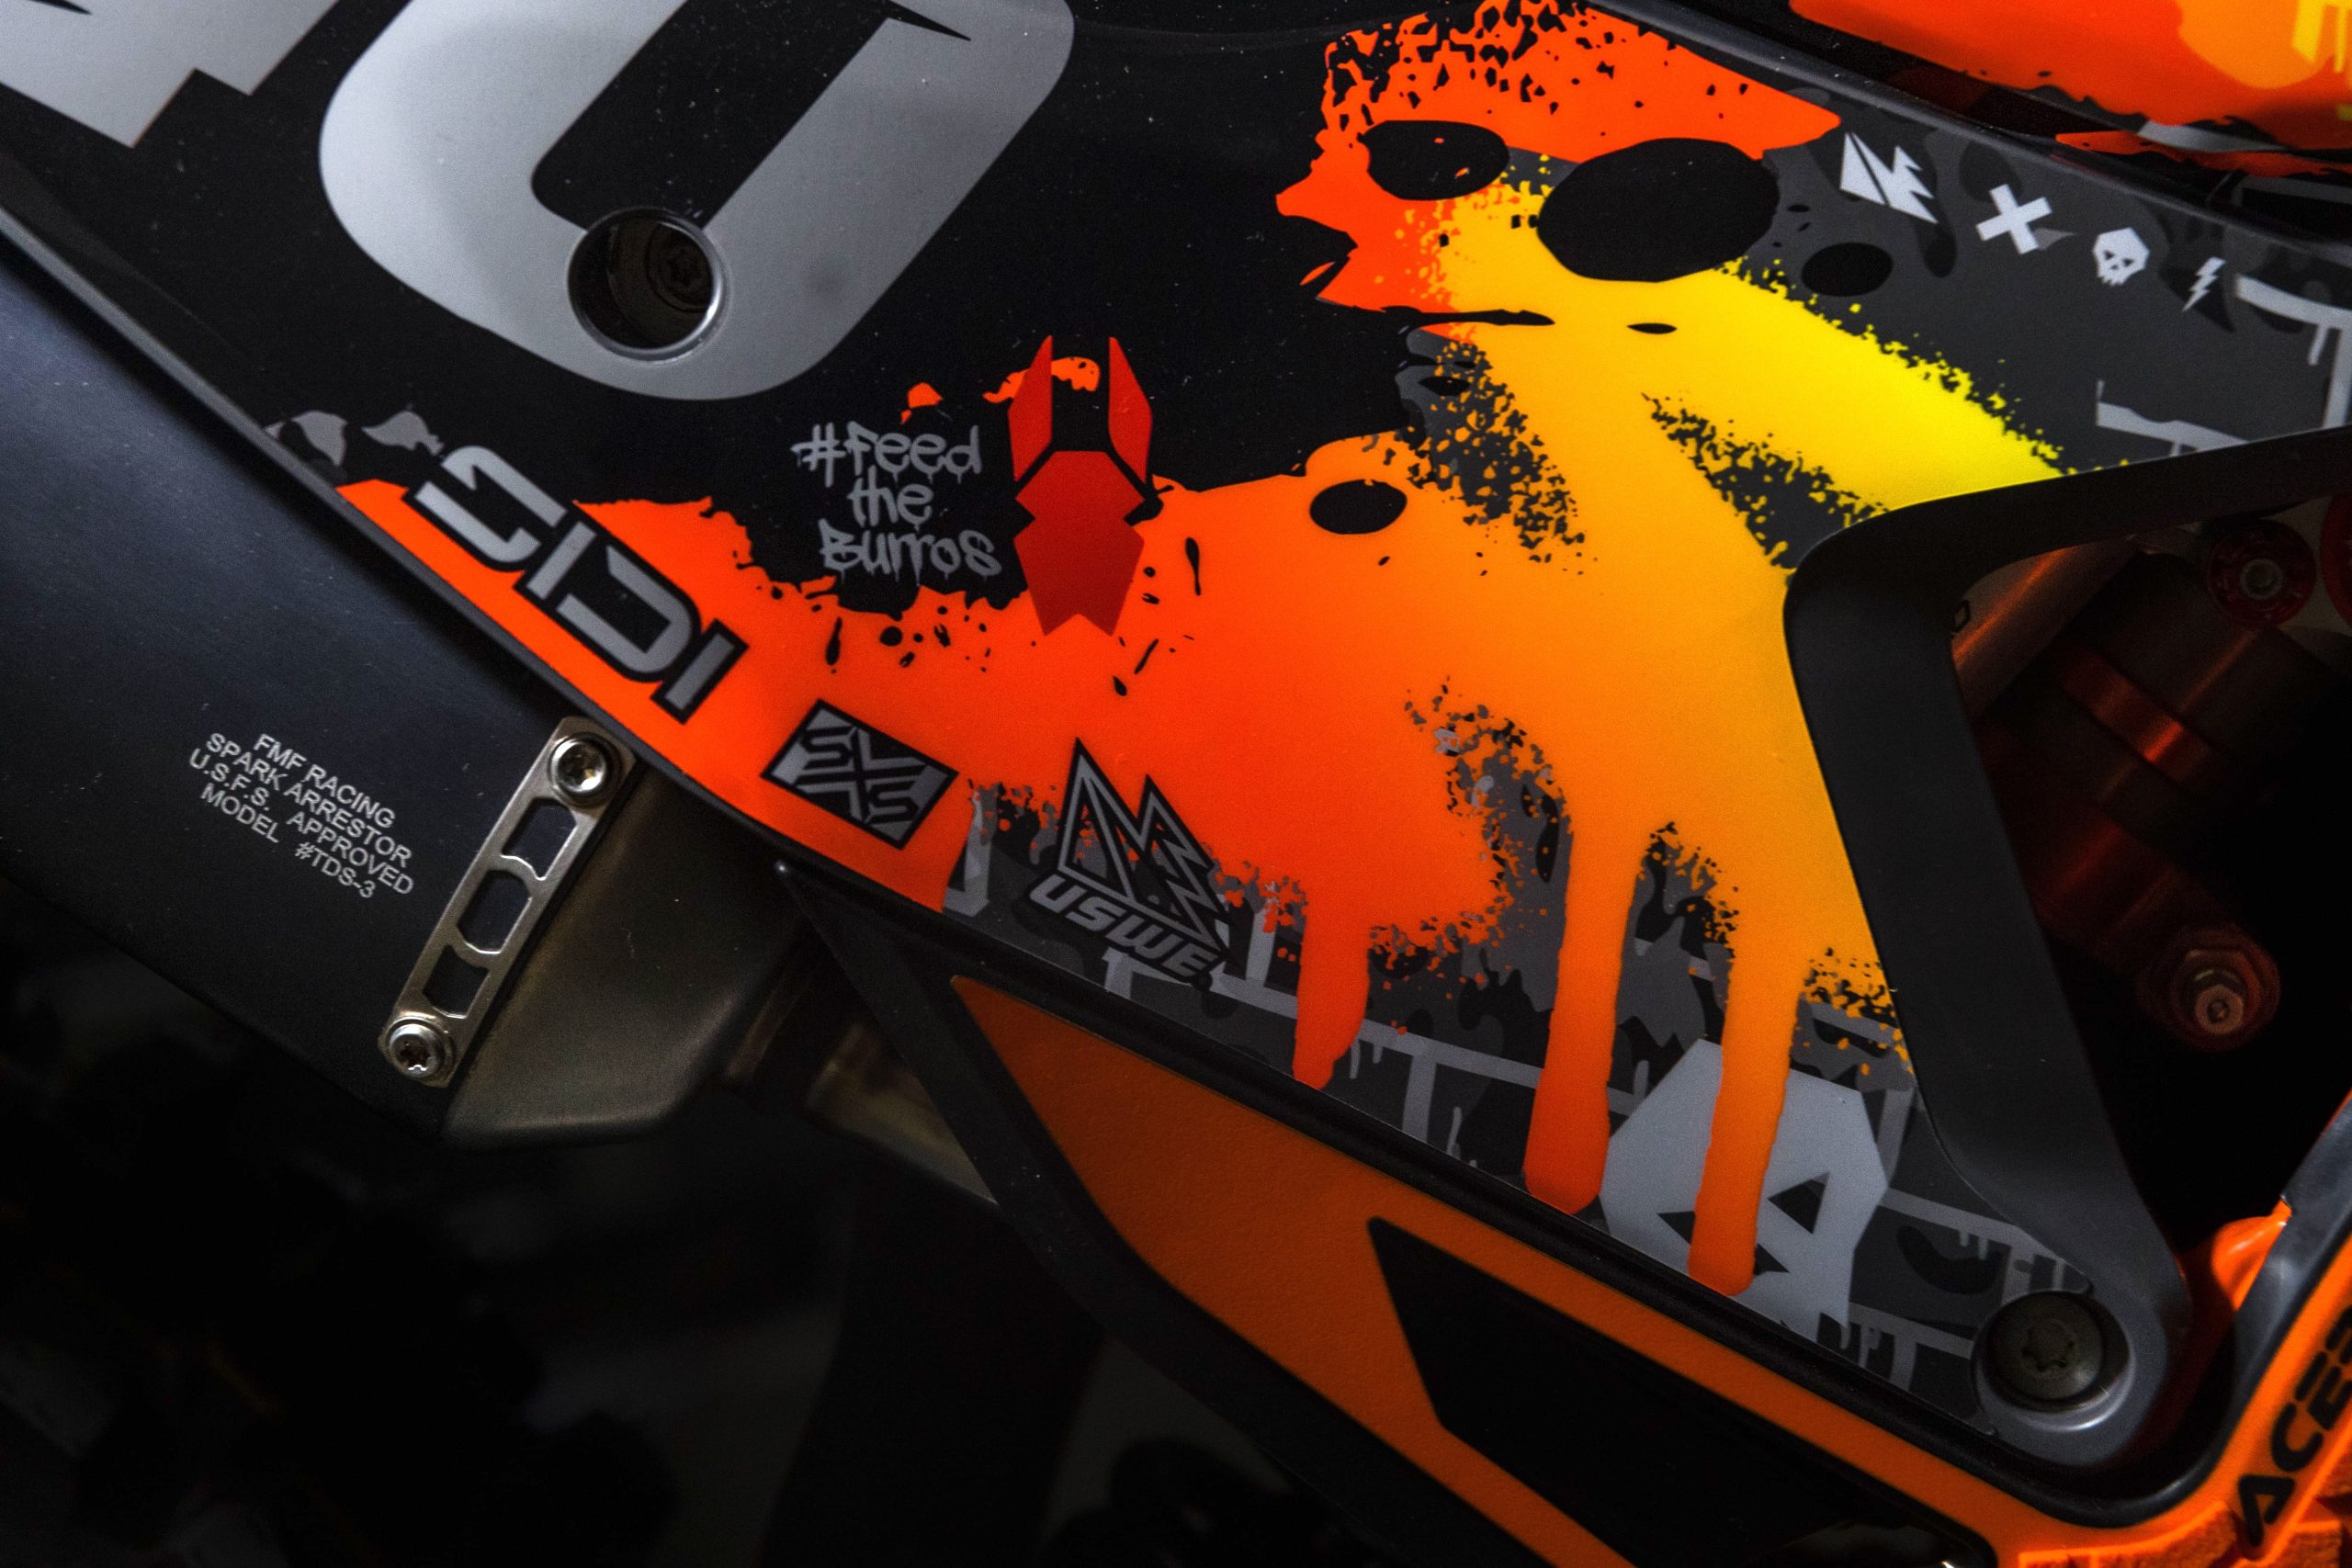


Several of those companies had also helped create the original Burros media bike when it was new. After seeing how their parts survived nearly 400 hours of hard enduro abuse, it made sense to involve them again for its second life. The original build focused on durability, engine performance, suspension, protection and reliability rather than creating a hard enduro bike that only looked good in photos. Made sense to me to give that bike a second life.
Watch the complete overhaul video to see the full teardown, everything we discovered and see how the bike did at the Moab Hard Enduro as I start in the backrow and pass as many riders as I can to the front.
Spoiler: we made sh$t happen.

Cheers,
Burro Blake
Tagged with: 2025 ktm 300 xc-w champion editionburros edition bike buildcrosslinked componentsfactory level race prephard endurohard enduro bike buildhard enduro bike rebuildhard enduro bike setuphard enduro burroshard enduro race prephow to overhaul a dirtbikeirc tires jx8ktm 300 xc-wmadjack racingtrystan hart ktmzrt throttle